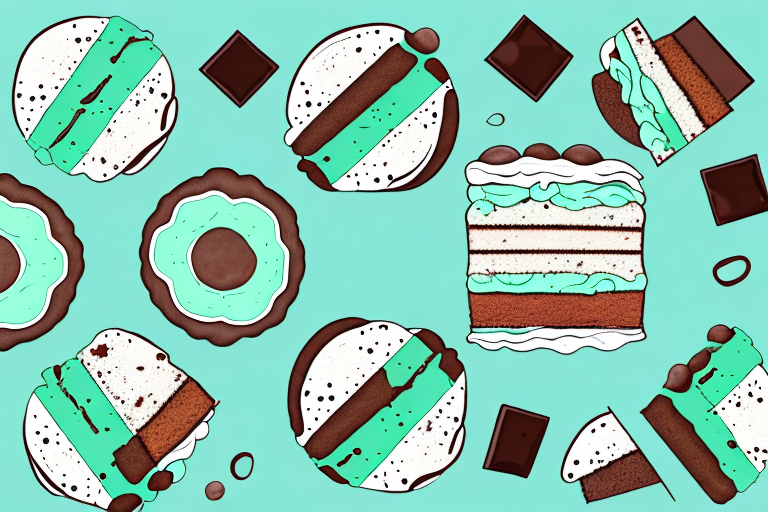
Are you looking for the perfect dessert to impress your friends and family at your next summer get-together? Look no further than a homemade mint chocolate chip ice cream cake! This decadent dessert is the perfect combination of creamy, refreshing, and delicious. In this article, we’ll go through all the steps to make this dessert from scratch, including tips for achieving the perfect cake texture and ice cream consistency, ideas for decorating the cake, and information on variations and dietary restrictions. So let’s get started!
How to make a homemade mint chocolate chip ice cream cake
This recipe may seem daunting, but don’t worry, we’ll break it down for you. First, you’ll need to gather your ingredients for both the cake and ice cream layers. We recommend using natural ingredients for the best flavor:
- For the cake layer:
- 2 cups all-purpose flour
- 2 tsp baking powder
- 1/4 tsp salt
- 1/2 cup unsalted butter, softened
- 1 cup granulated sugar
- 2 large eggs
- 1 tsp vanilla extract
- 1/2 cup milk
- For the ice cream layer:
- 2 cups heavy cream
- 1 cup whole milk
- 3/4 cup granulated sugar
- 1 tsp vanilla extract
- 1/2 tsp peppermint extract
- 1/2 cup chocolate chips, chopped
- Green food coloring (optional)
Once you have gathered your ingredients, it’s time to get started on making the cake and ice cream layers.
To make the cake layer, preheat your oven to 350°F and grease a 9-inch cake pan. In a medium bowl, whisk together the flour, baking powder, and salt. In a separate large bowl, cream together the butter and sugar until light and fluffy. Beat in the eggs one at a time, then stir in the vanilla extract. Gradually mix in the dry ingredients, alternating with the milk, until the batter is smooth. Pour the batter into the prepared cake pan and bake for 25-30 minutes, or until a toothpick inserted into the center comes out clean. Let the cake cool completely before adding the ice cream layer.
To make the ice cream layer, combine the heavy cream, whole milk, and granulated sugar in a large saucepan over medium heat. Cook, stirring occasionally, until the sugar has dissolved and the mixture is hot but not boiling. Remove from heat and stir in the vanilla extract, peppermint extract, and chopped chocolate chips. If desired, add a few drops of green food coloring to give the ice cream a minty hue. Let the mixture cool to room temperature, then pour it over the cooled cake layer. Cover the cake with plastic wrap and freeze for at least 4 hours, or until the ice cream is firm. Serve and enjoy!
Tips for achieving the perfect cake texture and ice cream consistency
For the best results, we recommend following these tips:
- Make sure all your ingredients are at room temperature before starting
- Grease and flour your cake pan to prevent sticking
- Use a cookie cutter to cut your ice cream layer to fit the size of your cake
- Work quickly when assembling the cake to prevent melting of the ice cream layer
- Freeze the cake for at least 2 hours before serving
Another important tip to achieve the perfect cake texture is to not overmix the batter. Overmixing can cause the cake to become tough and dense. Mix the batter until all the ingredients are just combined.
When it comes to ice cream consistency, it’s important to use a high-quality ice cream with a low overrun. Overrun refers to the amount of air that is whipped into the ice cream during the churning process. A lower overrun means the ice cream will be denser and creamier.
Step-by-step instructions for assembling the cake layers
1. Preheat the oven to 350°F. Grease and flour a 9-inch cake pan.
2. In a medium bowl, whisk together the flour, baking powder, and salt. Set aside.
3. In another medium bowl, using an electric mixer on medium speed, beat the butter and sugar until light and fluffy, about 2-3 minutes. Scrape down the sides of the bowl as needed.
4. Add the eggs and vanilla and beat until well combined.
5. With the mixer on low speed, alternately add the flour mixture and milk, beginning and ending with the flour mixture. Mix until just combined.
6. Pour the batter into the prepared pan and smooth the top with a spatula.
7. Bake for 30-35 minutes, or until a toothpick inserted into the center of the cake comes out clean.
8. Let the cake cool completely before assembling.
9. While the cake is cooling, make the ice cream layer. In a medium saucepan, heat the cream, milk, sugar, and vanilla extract over medium heat, stirring occasionally, until the sugar has dissolved. Remove from heat.
10. Stir in the peppermint extract, food coloring (if using), and chocolate chips until well combined.
11. Pour the mixture into a metal 8-inch square baking pan and freeze for at least 6 hours or overnight.
12. Once the cake and ice cream are ready, use a cookie cutter to cut the ice cream layer to the size of the cake.
13. Place the ice cream layer on top of the cake layer and press down gently to adhere.
14. Cover the cake with plastic wrap and freeze for at least 2 hours before serving.
15. To add an extra layer of flavor, consider adding a layer of whipped cream or frosting between the cake and ice cream layers.
16. For a festive touch, top the cake with crushed candy canes or chocolate shavings before serving.