If you are a fan of pastries, you have undoubtedly heard of Danish twists. These flaky, buttery pastries are a staple of many bakeries and coffee shops, and they are beloved by pastry lovers all over the world. But have you ever wondered what makes a Danish twist so special, or how you can achieve the perfect texture and flavor when making them at home?
What is a Danish twist?
Before we delve into the details of twisting vs. shaping Danish dough, let’s start with the basics. A Danish twist is a type of pastry that is made from laminated dough, which is a dough that has been folded repeatedly with butter in order to create layers of flaky goodness. Traditional Danish twists are shaped into a spiral or knot and are often filled with sweet or savory ingredients.
One of the most popular sweet fillings for Danish twists is almond paste, which is a mixture of ground almonds and sugar. This filling is often paired with a drizzle of icing on top of the pastry. On the other hand, savory Danish twists can be filled with ingredients such as cheese, ham, or spinach.
While Danish twists are often associated with Denmark, they actually have their roots in Austria. The pastry was brought to Denmark by Austrian bakers in the 19th century and has since become a staple in Danish cuisine. Today, Danish twists can be found in bakeries and cafes all over the world, and are enjoyed by pastry lovers of all ages.
The importance of dough consistency in Danish twists.
One of the key factors in achieving the perfect Danish twist is the consistency of the dough. It should be soft and pliable, but not too sticky. If the dough is too dry, it will be difficult to shape, and if it is too wet, it will not hold its shape during baking. The amount of butter used in the dough also plays a crucial role in creating the right texture and flavor.
Another important aspect to consider when making Danish twists is the temperature of the dough. If the dough is too cold, it will be difficult to roll out and shape, and if it is too warm, it will become sticky and difficult to work with. It is recommended to let the dough rest in the refrigerator for at least 30 minutes before rolling it out.
In addition to the dough consistency, the filling used in Danish twists can also greatly affect the final product. Traditional fillings include almond paste, fruit preserves, and cream cheese. It is important to evenly distribute the filling and not overfill the twists, as this can cause them to burst open during baking.
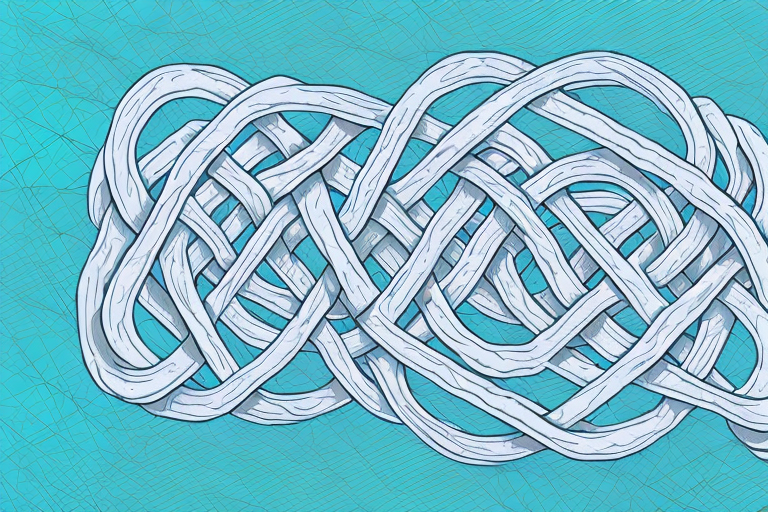
The difference between twisting and shaping dough.
When it comes to making Danish twists, there are two main techniques: twisting and shaping. Twisting involves rolling out the dough into a long, thin strip, then twisting it into a spiral or knot shape. Shaping, on the other hand, involves cutting the dough into triangles and folding them over a filling to create a triangular shape with a pointed end.
While both techniques can produce delicious pastries, there are some differences in the final product. Twisted pastries tend to have a more uniform shape and texture, with a consistent filling throughout. Shaped pastries, on the other hand, often have a more varied texture and filling distribution, with some bites having more filling than others. Additionally, shaping allows for more creativity in the final presentation, as the pastries can be arranged in different shapes and patterns.
The benefits of twisting dough for Danish twists.
Twisting the dough has several benefits. First, it creates a beautiful, intricate design that is sure to impress your guests. Second, it helps to create a more even distribution of filling throughout the pastry. Finally, it can result in a flakier texture, as the layers of dough are more distinct and separate from each other.
Another benefit of twisting the dough is that it allows for more filling to be added to the pastry. As the dough is twisted, it creates pockets where the filling can be placed, resulting in a more flavorful pastry. Additionally, twisting the dough can help to prevent the filling from leaking out during baking, as the layers of dough are tightly intertwined.
It’s important to note that twisting the dough requires some practice and patience. It can be a bit tricky to get the perfect twist, but with some practice, you’ll be able to create beautiful, delicious Danish twists that are sure to impress. So next time you’re making Danish pastries, give twisting the dough a try and see the difference it can make!
The benefits of shaping dough for Danish twists.
Shaping the dough has its own advantages. For starters, it allows you to create different shapes and sizes of pastry, from small, bite-sized treats to larger, show-stopping creations. It is also easier to control the amount of filling in each pastry and ensure that it is evenly distributed.
Another benefit of shaping dough for Danish twists is that it can enhance the texture and flavor of the pastry. By shaping the dough into twists or braids, you create layers that can become flaky and crispy when baked. This can add a delightful crunch to the pastry, making it more enjoyable to eat.
Additionally, shaping the dough can also make the pastry more visually appealing. The twists and braids can create an intricate pattern that is pleasing to the eye and can make the pastry look more professional and impressive. This can be especially useful if you are making pastries for a special occasion or event.
Tips for achieving the perfect twist or shape for your Danish pastries.
Whether you choose to twist or shape your Danish pastries, there are a few key tips that can help you achieve the best possible results. First, be gentle when handling the dough to prevent tearing or overworking it. Second, make sure that the filling is evenly distributed and not too thick, as this can cause the dough to burst during baking. Finally, be patient and take your time, as creating the perfect Danish twist takes practice and skill.
Another important tip to keep in mind is to use cold ingredients when making your Danish pastry dough. This helps to keep the dough firm and easier to handle, which is especially important when shaping or twisting the pastry. Additionally, consider using a pastry brush to lightly brush the dough with egg wash before baking, as this can help to create a beautiful golden brown color and a shiny finish on the pastry.
Common mistakes to avoid when twisting or shaping Danish dough.
There are a few common mistakes that people make when attempting to twist or shape Danish dough. One of the most common is overworking the dough, which can lead to tough, chewy pastry. Another is not allowing the dough to rest for long enough before shaping, which can cause it to shrink or lose its shape during baking. Finally, using too much filling can cause the pastry to burst or become soggy, so be sure to use a light touch when adding your chosen ingredients.
Additionally, it’s important to make sure that the dough is rolled out evenly before shaping. If the dough is thicker in some areas than others, it may not bake evenly and could result in some parts of the pastry being undercooked or burnt. It’s also a good idea to use a sharp knife or pastry cutter when cutting the dough, as a dull blade can compress the layers and affect the texture of the finished pastry. By avoiding these common mistakes, you can create beautifully twisted and shaped Danish pastries that are both delicious and visually appealing.
How to create different shapes and designs with Danish twists.
One of the most fun aspects of making Danish twists is experimenting with different shapes and designs. Some popular options include braids, spirals, and knots. To create a braid, simply cut the dough into strips and weave them together before shaping. For a spiral, roll out the dough into a circle and cut it into a spiral shape before shaping. And for a knot, simply twist the dough into a knot shape before baking.
Another way to create unique shapes and designs with Danish twists is to use cookie cutters. Simply roll out the dough and use cookie cutters to cut out different shapes, such as hearts or stars. You can also experiment with different fillings, such as fruit or chocolate, to add even more variety to your Danish twists. Don’t be afraid to get creative and try out new shapes and flavors!
Using fillings and toppings to enhance the flavor of your Danish twists.
While the dough itself is delicious, adding fillings and toppings can take your Danish twists to the next level. Some popular fillings include almond paste, fruit preserves, and cream cheese, while toppings can range from simple powdered sugar to more elaborate glazes and icings.
When it comes to choosing a filling for your Danish twists, it’s important to consider the texture and flavor profile you want to achieve. For example, almond paste adds a nutty sweetness, while fruit preserves provide a fruity tang. Cream cheese filling is a great option for those who prefer a creamy and tangy taste.
As for toppings, the possibilities are endless. A simple dusting of powdered sugar can add a touch of sweetness, while a glaze made with confectioners’ sugar and milk can create a shiny and flavorful coating. For a more decadent twist, try drizzling melted chocolate or caramel over the top of your Danish twists.
Baking and glazing techniques for perfectly golden and glossy Danish pastries.
The final step in creating the perfect Danish twist is baking and glazing. To achieve a golden, flaky exterior, bake the pastries at a high temperature for a short amount of time. And to create a glossy, shiny finish, brush with an egg wash or milk and sugar mixture before baking. Finally, add any desired toppings or glazes for a finishing touch.
Serving suggestions and pairing options for your freshly baked Danish twists.
Once your Danish twists are baked and glazed to perfection, it’s time to serve and enjoy them! These pastries pair well with a variety of beverages, from coffee and tea to hot chocolate and cider. They are also a great addition to any breakfast spread or brunch buffet.
Frequently asked questions about making twisted or shaped Danish pastries.
Here are some answers to common questions about making Danish twists:
- Q: Can I make Danish dough in advance?
A: Yes, Danish dough can be made ahead of time and stored in the refrigerator or freezer. - Q: Can I freeze my Danish twists?
A: Yes, Danish twists can be frozen for later enjoyment. - Q: Can I use pre-made pastry dough instead of making my own?
A: Yes, you can use pre-made pastry dough for a quicker and easier option. - Q: Can I use gluten-free flour to make Danish twists?
A: Yes, there are many gluten-free flour options available that work well for making Danish twists.
Expert tips from professional pastry chefs for mastering the art of Danish twists.
Finally, here are some tips from professional pastry chefs for creating the best possible Danish twists:
- Work with cold dough and butter for the best results.
- Use a light touch when rolling out and shaping the dough.
- Experiment with different fillings and toppings to find your favorite combinations.
- Practice makes perfect! Don’t be discouraged if your first attempts don’t turn out perfectly – keep practicing and refining your technique.
With these tips and techniques in mind, you should be well on your way to creating delicious, flaky Danish twists that will impress your friends and family. Whether you choose to twist or shape your dough, or experiment with different designs and fillings, the key is to be patient, gentle, and willing to learn from your mistakes. So get ready to roll up your sleeves and enter the world of Danish pastry baking – your taste buds will thank you!