There’s no denying that freshly baked bread is one of life’s simplest pleasures. There’s something about the aroma of warm bread wafting through the air that makes any house feel like a home. But, if you’re someone who’s never attempted to bake bread before, the process can seem a little intimidating at first. Fear not! In this article, we’ll break down everything you need to know about baking whole wheat bread, including the time it takes to make it from start to finish.
The benefits of baking your own bread
Before we dive into the specifics of baking whole wheat bread, let’s first talk about why it’s worth the effort to make your own bread. First and foremost, homemade bread tastes far better than anything you can buy at the store. When you bake your own bread, you have control over the quality of ingredients and can customize the flavor to your liking. Additionally, baking bread from scratch can be cheaper than buying pre-made loaves if you bake regularly. Lastly, baking bread is an incredibly satisfying and therapeutic activity that can help alleviate stress and anxiety.
Another benefit of baking your own bread is that it can be a healthier option than store-bought bread. Many store-bought breads contain preservatives and additives that can be harmful to your health. When you bake your own bread, you can choose to use whole grain flours and natural ingredients, which can provide more nutrients and fiber. Additionally, you can control the amount of salt and sugar in your bread, which can help you maintain a healthier diet.
Ingredients needed to bake whole wheat bread
The beauty of baking bread is that you only need a handful of ingredients to get started. To make whole wheat bread, you’ll require whole wheat flour, water, salt, honey, and active dry yeast. Whole wheat flour is a healthier option than all-purpose flour, as it’s higher in fiber, vitamins, and minerals. Salt and honey help to enhance the flavor of the bread, while yeast is responsible for creating the bread’s airy texture.
It’s important to note that the quality of the ingredients you use can greatly affect the taste and texture of your bread. When selecting your ingredients, opt for high-quality, organic options whenever possible. Additionally, the temperature of the water you use to activate the yeast can also impact the final result. Too hot or too cold water can prevent the yeast from activating properly, resulting in a dense and heavy loaf of bread.
The difference between whole wheat flour and all-purpose flour
It’s important to note the differences between whole wheat flour and all-purpose flour. All-purpose flour is made by removing the germ and bran from wheat flour, resulting in a pale, light-textured flour. Whole wheat flour, on the other hand, contains the entire wheat kernel, which gives it a denser texture and a nuttier flavor. When baking bread, it’s best to use whole wheat flour for nutritional reasons and to achieve a denser, more rustic loaf of bread.
However, it’s important to keep in mind that whole wheat flour can be more challenging to work with than all-purpose flour. Due to its denser texture, it requires more liquid and longer mixing times to achieve the desired consistency. Additionally, whole wheat flour has a shorter shelf life than all-purpose flour due to the presence of the germ, which can cause it to spoil more quickly. It’s recommended to store whole wheat flour in the refrigerator or freezer to extend its shelf life.
Choosing the right yeast for your bread recipe
When choosing yeast for your bread recipe, it’s important to select active dry yeast. This type of yeast must be activated in warm water to begin to proof. Active dry yeast is commonly found in grocery stores and is essential for creating the bubbles of carbon dioxide that help the bread to rise.
Another important factor to consider when choosing yeast for your bread recipe is the type of bread you are making. Different types of bread require different types of yeast. For example, sourdough bread requires a sourdough starter, which is a mixture of flour and water that has been fermented with wild yeast and bacteria. Instant yeast, on the other hand, is a type of yeast that can be added directly to the dough without proofing and is ideal for making quick breads and pizza dough.
Proofing the yeast before you start baking
Before adding yeast to your recipe, you need to proof or activate it. This step is important to ensure that your bread will rise. To start, sprinkle the yeast on top of warm water. The water should be between 105 and 115 degrees Fahrenheit, or it will kill the yeast. Next, add a small amount of sugar to feed the yeast and stir. Allow the yeast to proof for a5-10 minutes until it’s frothy and bubbly.
It’s important to note that if your yeast doesn’t froth or bubble during the proofing process, it may be inactive or expired. In this case, it’s best to start with a fresh batch of yeast to ensure that your bread will rise properly. Additionally, if you’re using instant yeast, you can skip the proofing step and add it directly to your dry ingredients. However, if you’re using active dry yeast, proofing is necessary to activate the yeast and ensure a successful bake.
Kneading techniques for whole wheat bread dough
Kneading the dough for whole wheat bread is essential to activate the gluten in the flour. Gluten gives bread that desired chewy texture. To begin kneading, lightly flour a surface and place the dough on it. Using the heels of your hands, press into the dough and stretch it out. Then, fold the dough back onto itself and repeat this process for about ten minutes. Kneading the dough can be time-consuming, but it’s essential to create the bread’s texture.
Another important factor to consider when kneading whole wheat bread dough is the amount of water used in the recipe. Whole wheat flour absorbs more water than all-purpose flour, so it’s important to adjust the water accordingly. If the dough feels too dry, add a tablespoon of water at a time until it reaches the desired consistency. On the other hand, if the dough feels too wet, add a tablespoon of flour at a time until it’s easier to handle.
It’s also important to let the dough rest for a few minutes after kneading. This allows the gluten to relax and makes the dough easier to shape. Cover the dough with a damp cloth and let it rest for about 10-15 minutes before shaping it into loaves or rolls. This step will ensure that the bread has a light and airy texture.
Letting your dough rise properly for best results
Once you’ve kneaded the dough, it’s time to let it rise. Place the dough in a bowl coated with oil and cover it with a clean towel or plastic wrap. Let the dough rise in a warm, draft-free place for an hour until it’s doubled in size. Don’t rush this step, as it’s essential to achieve that perfect airy texture we all love in bread.
It’s important to note that the temperature of the room can affect the rising time of your dough. If the room is too cold, the dough may take longer to rise, and if it’s too warm, it may rise too quickly and result in a dense texture. Ideally, the room temperature should be around 75-80°F (24-27°C) for optimal rising. If your kitchen is too cold, you can try placing the dough in the oven with the light on, as the light will provide enough warmth to help the dough rise.
Shaping your loaf before baking and why it matters
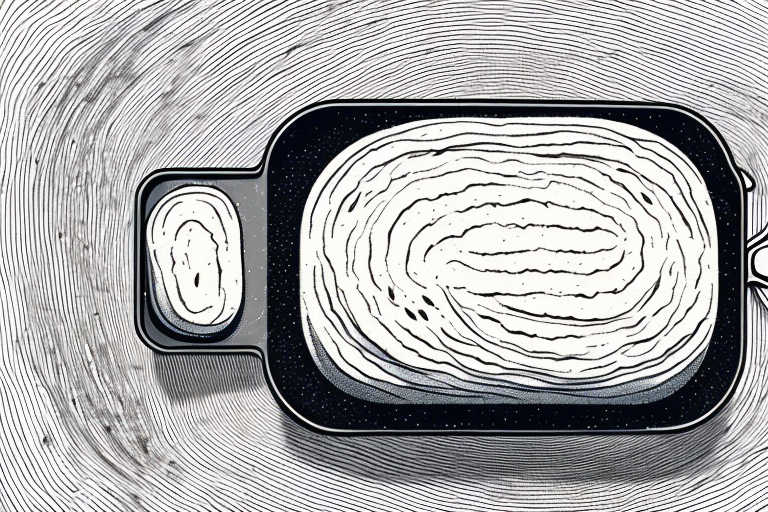
Shaping your loaf before baking is an essential step in achieving a beautiful and delicious loaf of bread. After your dough has risen, place it on a lightly floured surface and punch it down to remove excess air. Shape the dough into a round or rectangular shape and then place the dough into your greased bread pan. Grease the loaf pan with butter or cooking spray. Cover it with a towel and let it rise for an additional 30 minutes before baking.
One reason why shaping your loaf before baking is important is that it helps to create a more even crumb structure. When the dough is shaped properly, it allows for the gluten strands to align and create a more uniform texture throughout the bread. This results in a loaf that is easier to slice and has a more consistent texture.
Another benefit of shaping your loaf is that it can help to create a more visually appealing bread. By shaping the dough into a round or rectangular shape, you can create a more uniform and aesthetically pleasing loaf. This is especially important if you plan on serving the bread to guests or using it for special occasions.
Preheating your oven and selecting the right temperature
Baking bread requires a hot oven in order to achieve that crispy crust and airy, chewy texture. Preheat your oven to 375 degrees Fahrenheit before sliding your bread in. This is the optimal temperature for baking whole wheat bread.
Tips for achieving a crispy crust on your loaf of bread
Creating a crispy crust on your bread is essential to making it look as delicious as it tastes. To achieve a crispy crust, lightly brush the top of the loaf with an egg wash before sliding it into the oven. An egg wash creates a shiny, crisp surface on the bread and can usually take between 30-45 minutes to cook depending on the size of your loaf.
Checking if your bread is done without overbaking it
The last thing you want to do is over bake your bread and end up with something dark and dry. To check if your bread is done, insert an instant-read thermometer into the thickest part of the bread. The internal temperature should be 200 to 205 degrees Fahrenheit.
Tips for storing and reheating leftover bread
If you have any leftover bread, which is unlikely, the best way to store it is in an airtight container or a plastic bag. Whole wheat breads tend to go stale faster than other varieties due to their higher moisture content, so it’s a good idea to eat your bread within a couple of days. If you need to reheat bread, brush it with water and then heat it in the oven at 375 degrees Fahrenheit for 5-10 minutes. This will help to bring back some of the bread’s moisture and give it that fresh-from-the-oven taste.
Common mistakes to avoid when baking whole wheat bread
There are a few common mistakes people make when baking bread for the first time. One of the biggest mistakes is not allowing the bread enough time to rise. You might be tempted to rush the process, but giving your bread enough time to rise is essential. Another mistake is not kneading the dough enough. Kneading helps to activate the gluten in the flour, which gives the bread that desired chewy texture. Lastly, adding too much flour to the recipe can lead to a dense, dry loaf of bread.
Recipe variations to try with your whole wheat bread dough
Now that you’ve mastered the art of baking whole wheat bread, it’s time to have some fun with variations on the recipe. Try adding nuts, seeds, or dried fruit to the dough before baking. You can also experiment with different spices like cinnamon or rosemary to give your bread a unique flavor. The possibilities are endless and allow you to create a bread that is uniquely yours.
There you have it, everything you need to know about baking whole wheat bread from start to finish. Baking bread can be a fun and rewarding experience, and with a little practice, you’ll be able to create loaves that are both delicious and beautiful.